How to Change the RDP Port for Your Windows Server
The default Remote Desktop Protocol (RDP) port for Windows servers is 3389. You can strengthen the server security by modifying the RDP port to prevent brute force attacks. This article will show you how to change the RDP port for your Windows Server.
1. Log in to your Windows Server
To log in to your remote Windows server, please refer to How to connect to a Windows Remote Server.
2. Steps to change RDP Port
Here, we will introduct how to mannually modify the port and how to change the port using powershell command.
Using Powershell command
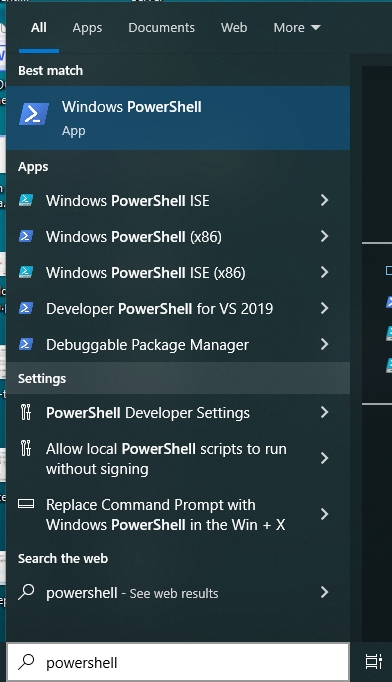
- Type PowerShell in the Search box to open Windows PowerShell.
- Modify port
In this example, we use 3389 as the new port. Be sure to replace it with a custom port you'd like to use. Run the following command:
Set-ItemProperty -Path 'HKLM:\SYSTEM\CurrentControlSet\Control\Terminal Server\WinStations\RDP-Tcp' -Name 'portnumber' -Value 3389

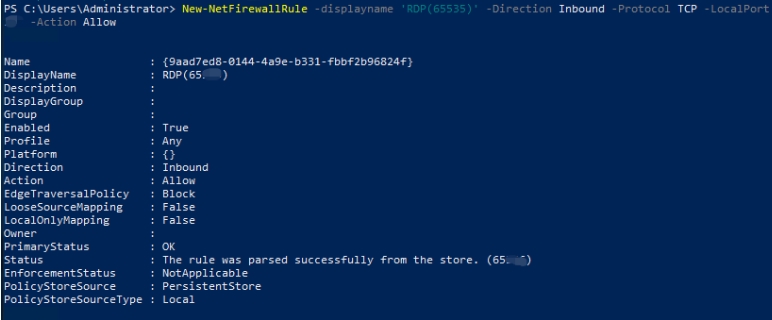
- Open the new RDP port in Windows Firewall
New-NetFirewallRule -displayname 'RDP(3389)' -Direction Inbound -Protocol TCP -LocalPort 3389 -Action Allow
- Restart RDP service
get-service TermService | restart-service -force

Manually Modify port
- Change the RDP port by modifying the registry manually
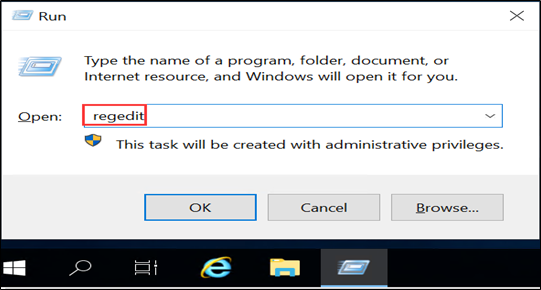
Press “Windows + R” to open Windows Run dialog. Type “regedit” in the Run box and press Enter to open Windows Registry Editor.
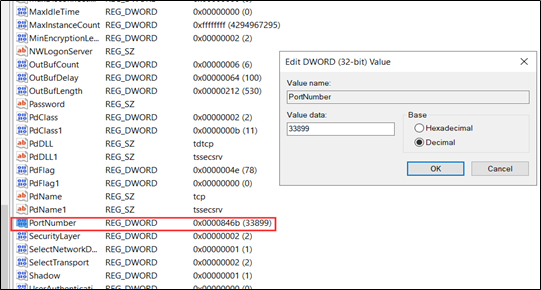
Navigate to the following registry subkey: HKEY_LOCAL_MACHINE\System\CurrentControlSet\Control\Terminal Server\WinStations\RDP-Tcp\PortNumber
Click Edit > Modify, and then click Decimal. Type the new port number, and then click OK. The recommended range for RDP ports is 1024-65535.
- Open the new RDP port in Windows Firewall
Please refer to Youtube tutorial How to Open a Port in Windows Firewall.
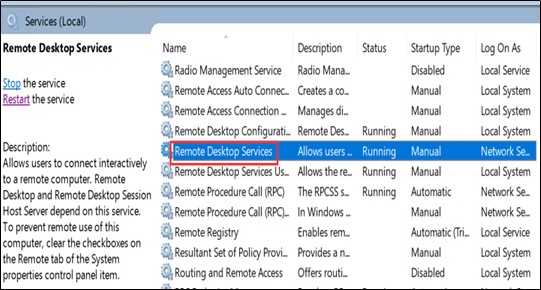
- Restart the RDP service
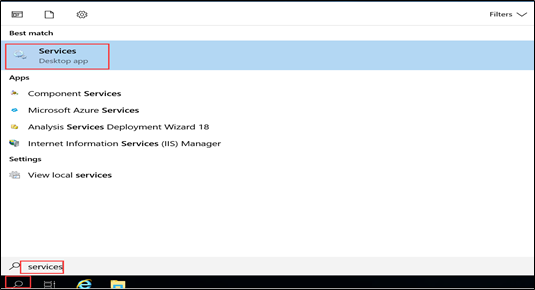
Type services in the Search box. Open Services.
Restart Remote Desktop Services
3. Test
Test the connection to the server with the new RDP port.
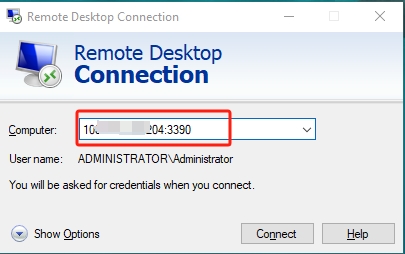
You need to fill in "IP:port” in the Computer column. For example: 10.10.XX.XX:3389
